Everything Sourdough One-page recipe
Sourdough Bread
A rustic artisan loaf with a crackling crust and open crumb — built through patient stretch and folds, coil folds, overnight cold proofing, and baked in a Dutch oven.
- Total time
- About 19 hr 10 min
- Yield
- 1 loaf
- Starter
- Active starter
- Heat
- 446°F / 230°C, then 419°F / 215°C
Ingredients
Dough
- 70g sourdough starter (active, passes float test)
- 250g water (warm)
- 350g bread flour
- 7g salt
Method
MixingDay 1
- Put 70g of starter in a bowl and mix well with the warm water until dissolved.
- Add 350g bread flour and knead for a while until the dough is no longer too sticky.
- Add 7g salt and work it in. Don't use too much flour on the surface.
- Ideal dough temperature after mixing: 80.6°F (27°C).
- Cover and let the dough rest for 30 minutes.
Stretch & Fold
- After 30 minutes, perform the first stretch and fold (wet your palms with water). Fold the dough and shape it back into a round.
- Cover and rest 30 minutes.
- Perform the second stretch and fold. Make the dough smooth and round again.
- Put back in the bowl with the lid and rest 45 minutes.
Coil Fold
- After 45 minutes, perform the first coil fold. Be gentle — do not press the dough down.
- Cover with the lid. Rest 45 minutes.
- Perform the second coil fold.
Bulk Fermentation
- Let the dough continue to ferment for about 2 hours at room temperature.
- Ideal temperature: 77°F (25°C).
- The dough is ready when it has risen about 70% and pulls away from the sides of the bowl.
Pre-Shaping
- Gently turn the dough out onto the counter.
- Shape it into a round. Don't use too much flour.
- Cover with a cloth or kitchen towel and let it rest (bench rest).
Final Shaping
- Flip the dough over.
- Gently shape into a rectangle.
- Fold from one side, overlapping layers to create tension.
- Roll to make the surface smooth.
- Place seam-side up in a floured proofing basket (banneton).
Cold ProofOvernight
- Let the shaped dough sit at room temperature for about 1 hour.
- Place the banneton in the refrigerator for 12 hours (overnight).
BakingDay 2
- After 12 hours, take the dough out of the refrigerator.
- Preheat oven to 446°F with the Dutch oven inside for 45 minutes to 1 hour.
- Place the dough on parchment paper.
- Score the top at a 45° angle with a sharp blade — score quickly.
- Spray water on top of the dough.
- Use a pizza peel to transfer the dough into the hot Dutch oven. Cover with the lid.
- Bake for 20 minutes at 446°F.
- Remove the lid and reduce temperature to 419°F.
- Bake for another 20 minutes until deep golden brown.
- Let cool completely on a wire rack before slicing.
My saved note:
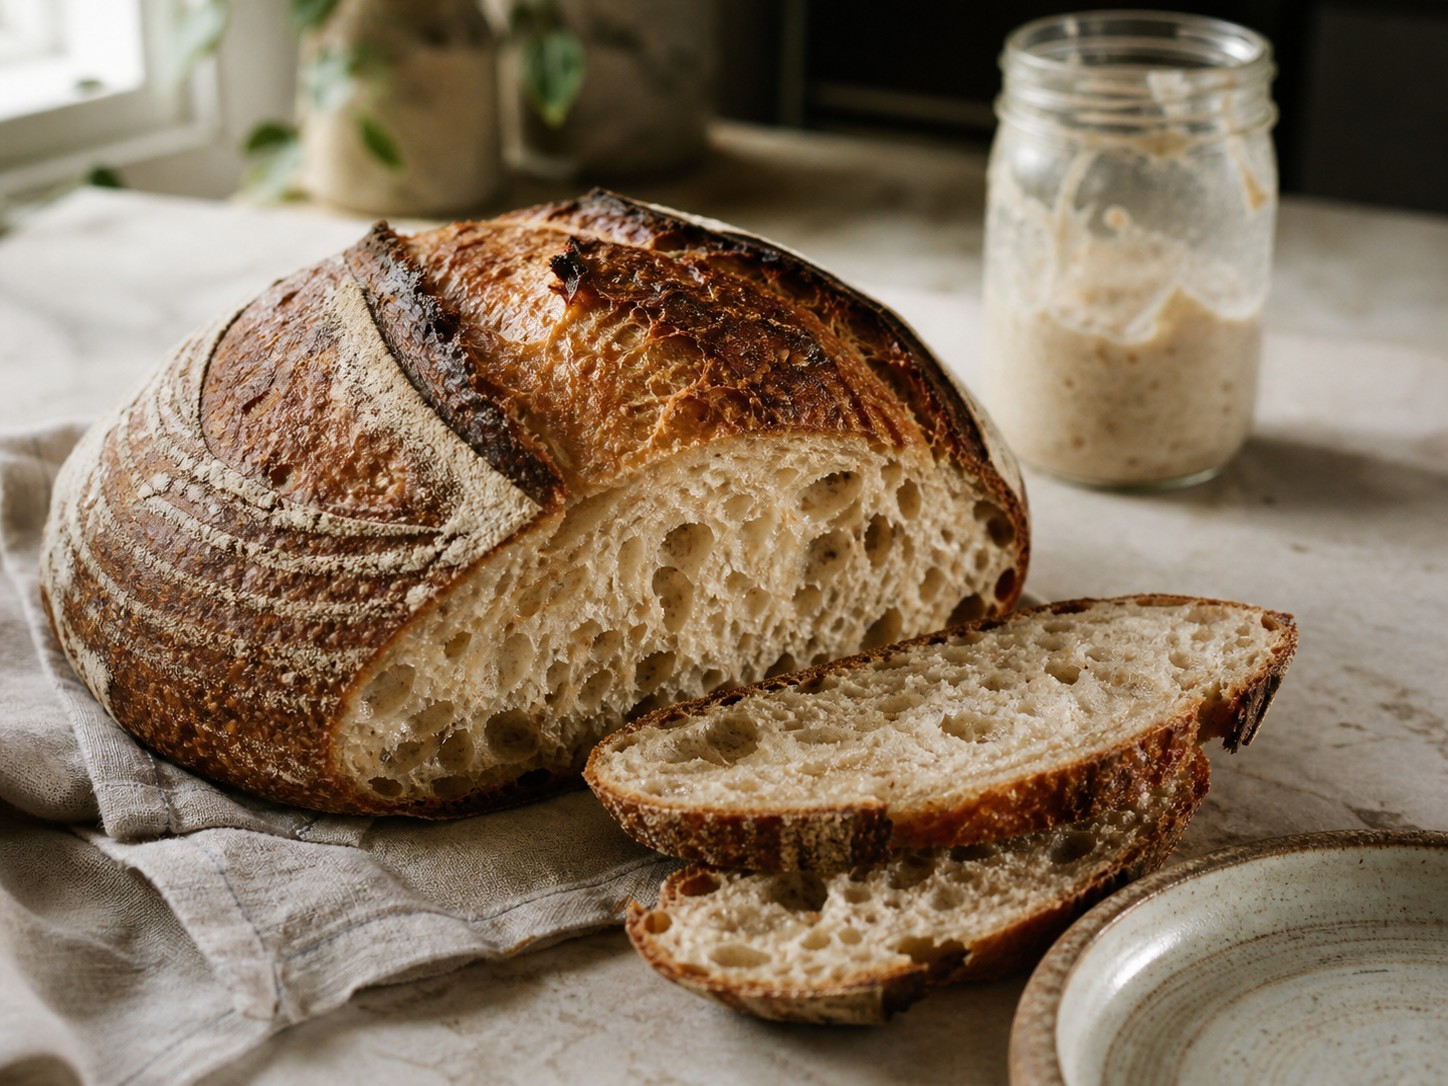
Everyday Bread - Active starter
Sourdough Bread
A rustic artisan loaf with a crackling crust and open crumb — built through patient stretch and folds, coil folds, overnight cold proofing, and baked in a Dutch oven.
- Total time
- About 19 hr 10 min
- Hands-on
- 45 min
- Yield
- 1 loaf
- Starter
- Active starter
- Difficulty
- Advanced
- Heat
- 446°F / 230°C, then 419°F / 215°C
- Pan or vessel
- Preheated Dutch oven
Gather first
Ingredients
Starter Preparation
Before You Begin
- Feed your sourdough starter and wait until it is active and bubbly
- It should have doubled or tripled in size
- It should hold its shape — consistency like play dough, a bit stickier than pancake batter
- It should smell sour and tangy
- It must pass the float test (a small piece should float in water)
Ingredients
Dough
- 70g sourdough starter (active, passes float test)
- 250g water (warm)
- 350g bread flour
- 7g salt
Method
Step by step
Part 1
Mixing
- Put 70g of starter in a bowl and mix well with the warm water until dissolved.
- Add 350g bread flour and knead for a while until the dough is no longer too sticky.
- Add 7g salt and work it in. Don't use too much flour on the surface.
- Ideal dough temperature after mixing: 80.6°F (27°C).
- Cover and let the dough rest for 30 minutes.
Part 2
Stretch & Fold
- After 30 minutes, perform the first stretch and fold (wet your palms with water). Fold the dough and shape it back into a round.
- Cover and rest 30 minutes.
- Perform the second stretch and fold. Make the dough smooth and round again.
- Put back in the bowl with the lid and rest 45 minutes.
Part 3
Coil Fold
- After 45 minutes, perform the first coil fold. Be gentle — do not press the dough down.
- Cover with the lid. Rest 45 minutes.
- Perform the second coil fold.
Part 4
Bulk Fermentation
- Let the dough continue to ferment for about 2 hours at room temperature.
- Ideal temperature: 77°F (25°C).
- The dough is ready when it has risen about 70% and pulls away from the sides of the bowl.
Part 5
Pre-Shaping
- Gently turn the dough out onto the counter.
- Shape it into a round. Don't use too much flour.
- Cover with a cloth or kitchen towel and let it rest (bench rest).
Part 6
Final Shaping
- Flip the dough over.
- Gently shape into a rectangle.
- Fold from one side, overlapping layers to create tension.
- Roll to make the surface smooth.
- Place seam-side up in a floured proofing basket (banneton).
Part 7
Cold Proof
- Let the shaped dough sit at room temperature for about 1 hour.
- Place the banneton in the refrigerator for 12 hours (overnight).
Part 8
Baking
- After 12 hours, take the dough out of the refrigerator.
- Preheat oven to 446°F with the Dutch oven inside for 45 minutes to 1 hour.
Set a check timer
- Place the dough on parchment paper.
- Score the top at a 45° angle with a sharp blade — score quickly.
- Spray water on top of the dough.
- Use a pizza peel to transfer the dough into the hot Dutch oven. Cover with the lid.
- Bake for 20 minutes at 446°F.
- Remove the lid and reduce temperature to 419°F.
- Bake for another 20 minutes until deep golden brown.
- Let cool completely on a wire rack before slicing.
For next time
My Kitchen Notes
Keep track of changes, room temperature, proofing cues, or anything you want to repeat next time.
Finish well
After baking
Doneness, storage, and reheating notes for this recipe.
Doneness
Deep golden crust; cool completely before slicing
Storage
Keep the cooled loaf cut-side down for the first day, then airtight; freeze slices for longer storage.
Reheat or serve
Refresh the loaf at 350°F / 177°C for 8–12 minutes or toast slices.
Keep Baking
Related sourdough recipes
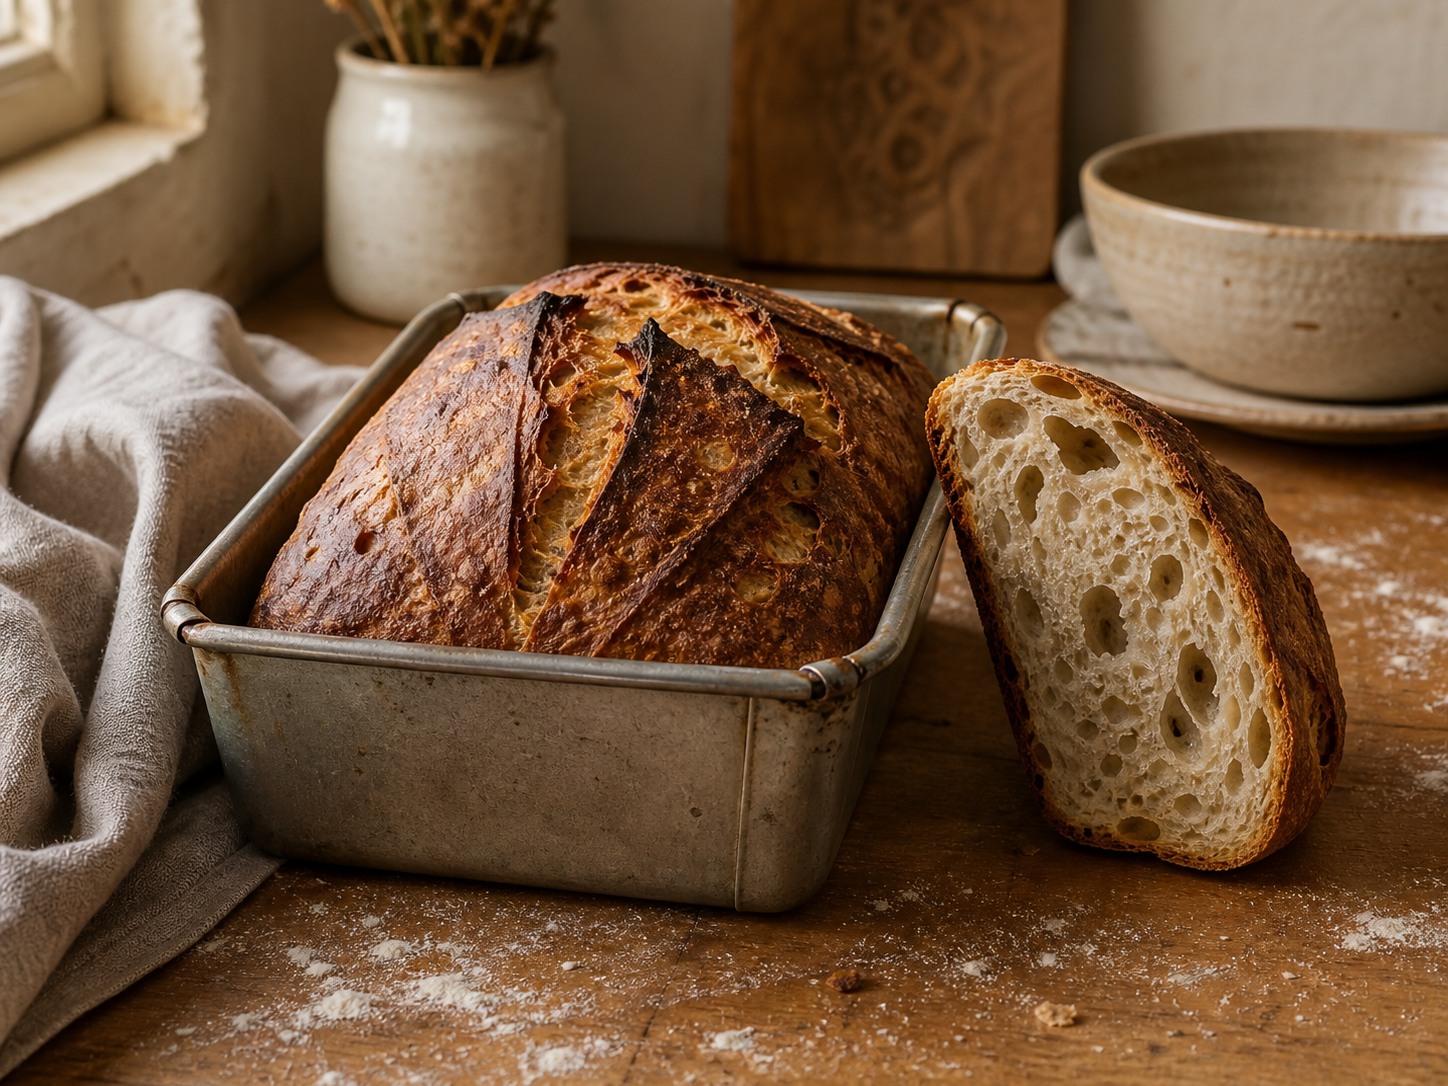
Everyday Bread
One Day Sourdough Loaf
A same-day sourdough loaf with a six-hour bulk rise, an accelerated freezer proof, and a covered loaf-pan bake.
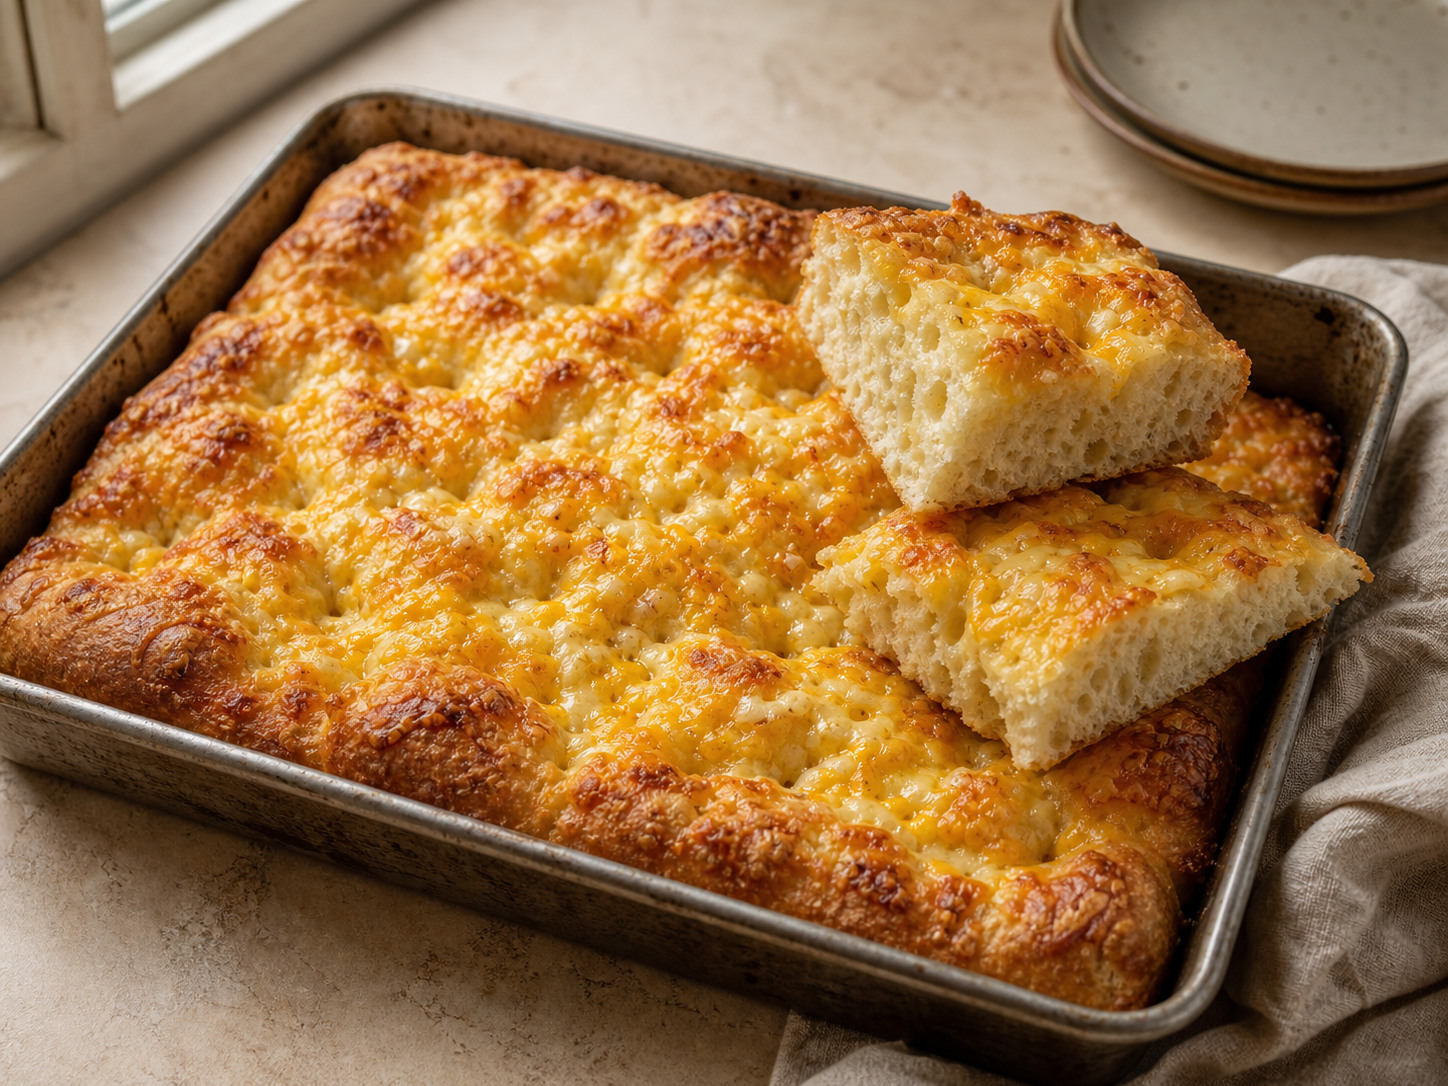
Everyday Bread
One-Day Cheesy Garlic Sourdough Focaccia
A forgiving, same-day focaccia with a crisp buttery crust, pockets of garlic, and a golden layer of melted Colby Jack.
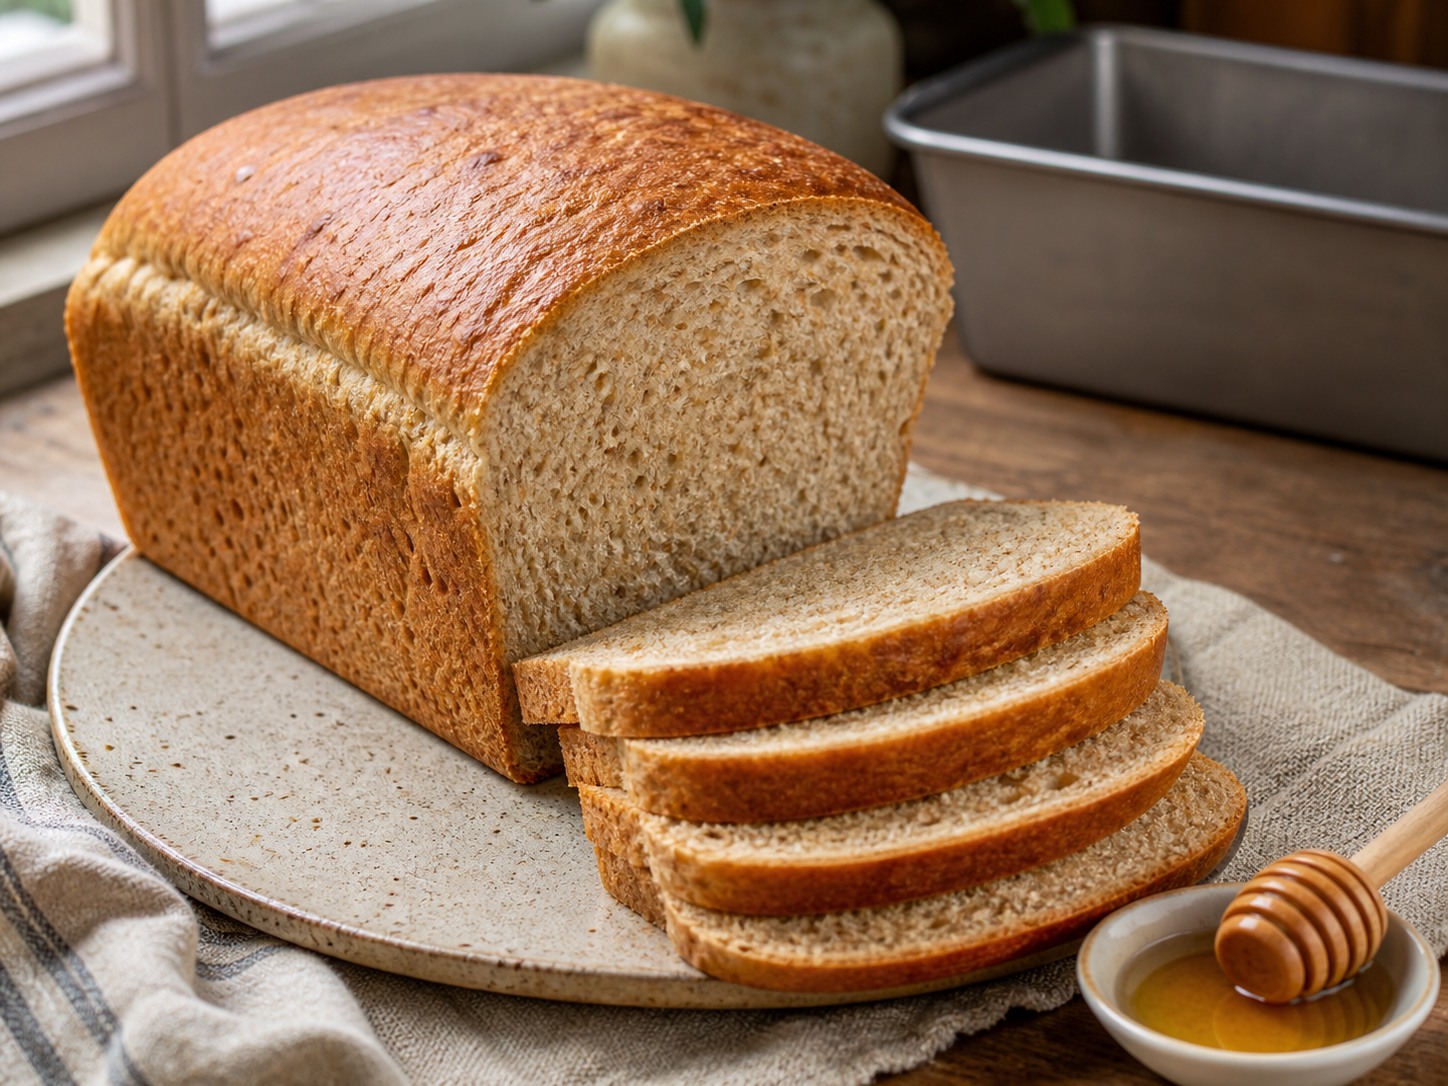
Everyday Bread
One-Day Honey-Wheat Sourdough Sandwich Loaf
A soft, lightly sweet whole-wheat loaf with a flexible same-day rise, two simple sets of stretch and folds, and a dependable sandwich-ready crumb.