Everything Sourdough One-page recipe
Sourdough Focaccia
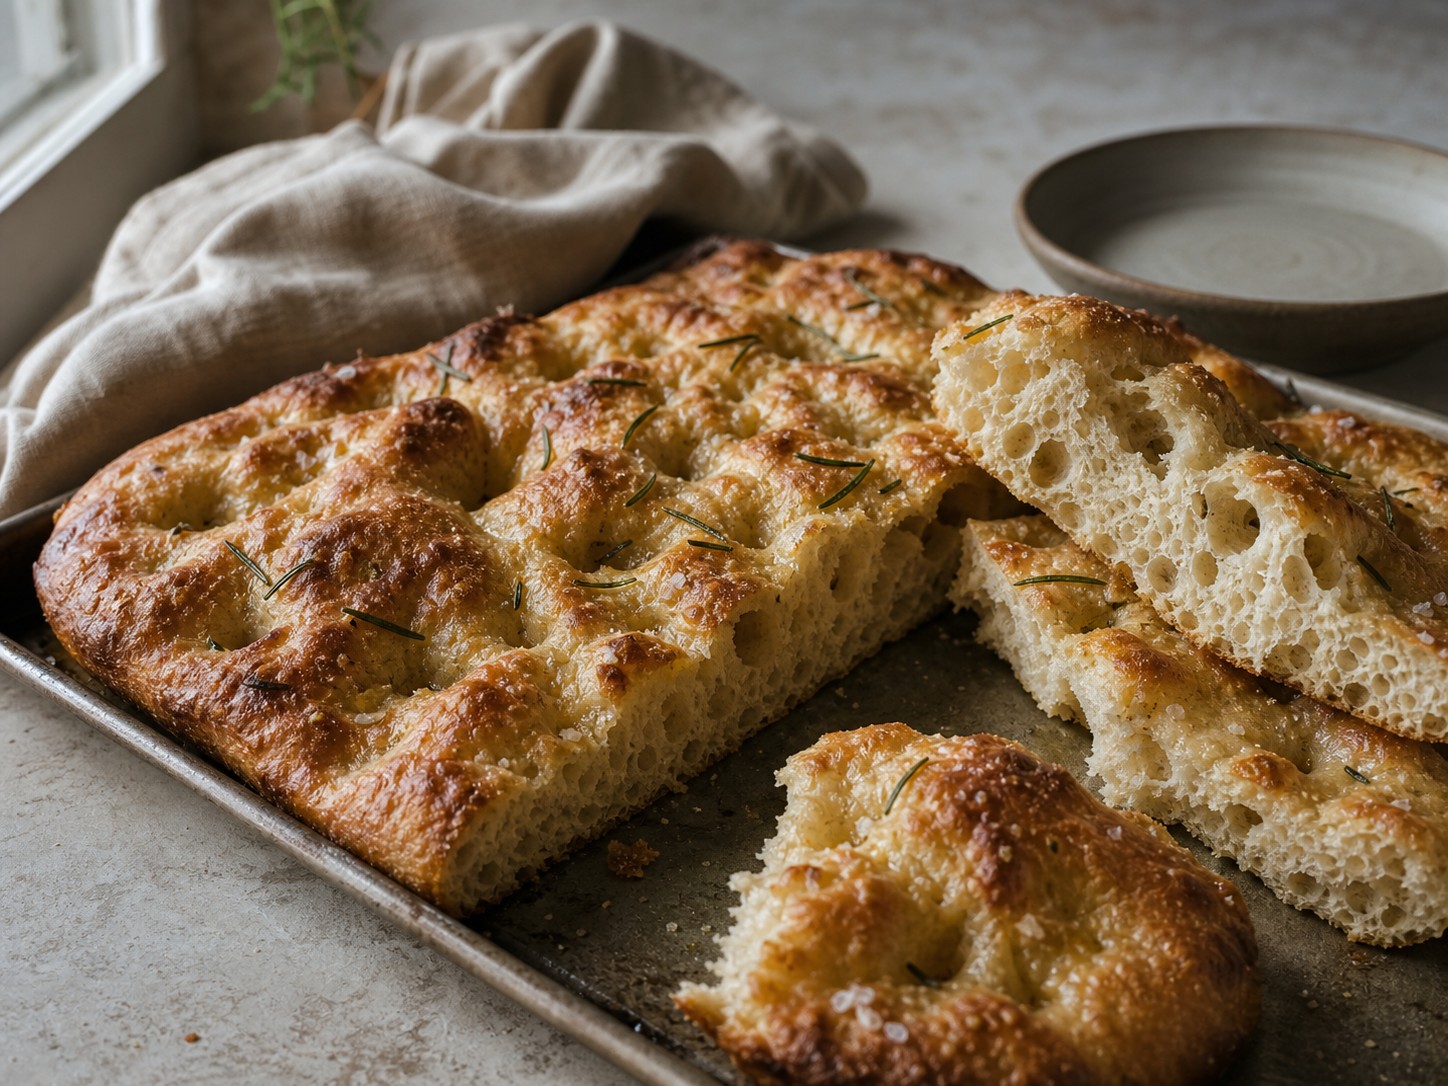
A pillowy, dimpled flatbread with a crisp olive-oil crust — built on a 1:1 hydration dough, fermented overnight, then drizzled, dimpled, and baked golden.
- Total time
- About 16 hr
- Yield
- 1 pan
- Starter
- Active starter
- Heat
- 450°F / 232°C
Ingredients
Dough
- 1/2 cup sourdough starter (active, at peak)
- 2 cups distilled water (room temperature)
- 4 cups bread flour
- 1 Tbsp salt
- 1/2 Tbsp honey (optional — balances the flavors and feeds the starter)
For the Pan & Top
- Olive oil (generous — for the pan and drizzling)
- Flaky sea salt (for topping)
- Fresh rosemary or other herbs (optional, for savory)
Method
MixingDay 1
- In a large bowl, combine the starter, water, and the honey (if using). Mix well until the starter is dissolved.
- Add the bread flour and mix until no dry flour remains.
- Add the salt and work it into the dough.
- Cover and let the dough rest for 30 minutes.
Stretch & Fold
- Perform the first stretch and fold with wet hands. Reach under the dough, pull up, and fold over. Rotate the bowl and repeat 4 times.
- Cover and rest 30 minutes.
- Perform a second set of stretch and folds.
- Cover and rest 30 minutes.
- Perform a third set of stretch and folds. The dough should be smoother and more elastic.
Bulk FermentationOvernight
- Cover the bowl and let the dough rest overnight on the counter at room temperature.
- Slow ferment alternative: If you know you won't get to it early enough, put it in the fridge instead — it's still happy. Then let it rest at room temperature most of the day to give it time to ferment even further.
- Use the poke test to check that the dough is not under or over proofed. Lightly press with a wet finger — it should slowly spring back partway, leaving a small indent.
Transfer to PanDay 2
- Generously oil a baking pan or sheet pan with olive oil.
- Gently turn the dough out into the pan, trying not to deflate it.
- With oiled hands, gently stretch the dough toward the corners. If it resists, let it rest 10-15 minutes and stretch again.
Final Proof & Dimpling
- Let the dough rest in the pan for 1 to 2 hours until puffy and bubbly.
- Drizzle the top generously with olive oil.
- With oiled fingertips, dimple the dough all over, pressing all the way down to the pan.
- Sprinkle with flaky sea salt and add fresh rosemary or other toppings if desired.
Baking
- Preheat oven to 450°F.
- Bake for 25 to 30 minutes until the top is deep golden brown and the edges are crispy.
- Remove from the pan and let cool on a wire rack for at least 10 minutes before slicing.
My saved note:
Everyday Bread - Active starter
Sourdough Focaccia
A pillowy, dimpled flatbread with a crisp olive-oil crust — built on a 1:1 hydration dough, fermented overnight, then drizzled, dimpled, and baked golden.
- Total time
- About 16 hr
- Hands-on
- 30 min
- Yield
- 1 pan
- Starter
- Active starter
- Difficulty
- Intermediate
- Heat
- 450°F / 232°C
- Pan or vessel
- Well-oiled baking pan or sheet pan
Gather first
Ingredients
Starter Preparation
Before You Begin
- Feed your sourdough starter and wait until it is super happy, active, and bubbly
- It should have doubled or tripled in size
- It should smell sour and tangy
- It must pass the float test (a small piece should float in water)
Ingredients
Dough
- 1/2 cup sourdough starter (active, at peak)
- 2 cups distilled water (room temperature)
- 4 cups bread flour
- 1 Tbsp salt
- 1/2 Tbsp honey (optional — balances the flavors and feeds the starter)
For the Pan & Top
- Olive oil (generous — for the pan and drizzling)
- Flaky sea salt (for topping)
- Fresh rosemary or other herbs (optional, for savory)
Method
Step by step
Part 1
Mixing
- In a large bowl, combine the starter, water, and the honey (if using). Mix well until the starter is dissolved.
- Add the bread flour and mix until no dry flour remains.
- Add the salt and work it into the dough.
- Cover and let the dough rest for 30 minutes.
Part 2
Stretch & Fold
- Perform the first stretch and fold with wet hands. Reach under the dough, pull up, and fold over. Rotate the bowl and repeat 4 times.
- Cover and rest 30 minutes.
- Perform a second set of stretch and folds.
- Cover and rest 30 minutes.
- Perform a third set of stretch and folds. The dough should be smoother and more elastic.
Part 3
Bulk Fermentation
- Cover the bowl and let the dough rest overnight on the counter at room temperature.
- Slow ferment alternative: If you know you won't get to it early enough, put it in the fridge instead — it's still happy. Then let it rest at room temperature most of the day to give it time to ferment even further.
- Use the poke test to check that the dough is not under or over proofed. Lightly press with a wet finger — it should slowly spring back partway, leaving a small indent.
Part 4
Transfer to Pan
- Generously oil a baking pan or sheet pan with olive oil.
- Gently turn the dough out into the pan, trying not to deflate it.
- With oiled hands, gently stretch the dough toward the corners. If it resists, let it rest 10-15 minutes and stretch again.
Set a check timer
Part 5
Final Proof & Dimpling
- Let the dough rest in the pan for 1 to 2 hours until puffy and bubbly.
Set a check timer
- Drizzle the top generously with olive oil.
- With oiled fingertips, dimple the dough all over, pressing all the way down to the pan.
- Sprinkle with flaky sea salt and add fresh rosemary or other toppings if desired.
Part 6
Baking
- Preheat oven to 450°F.
- Bake for 25 to 30 minutes until the top is deep golden brown and the edges are crispy.
Set a check timer
- Remove from the pan and let cool on a wire rack for at least 10 minutes before slicing.
For next time
My Kitchen Notes
Keep track of changes, room temperature, proofing cues, or anything you want to repeat next time.
Finish well
After baking
Doneness, storage, and reheating notes for this recipe.
Doneness
Deep golden top with crisp edges
Storage
Cool completely and keep airtight for up to 2 days, or freeze portions.
Reheat or serve
Warm directly on an oven rack at 375°F / 191°C until the edges crisp.
Keep Baking
Related sourdough recipes
Everyday Bread
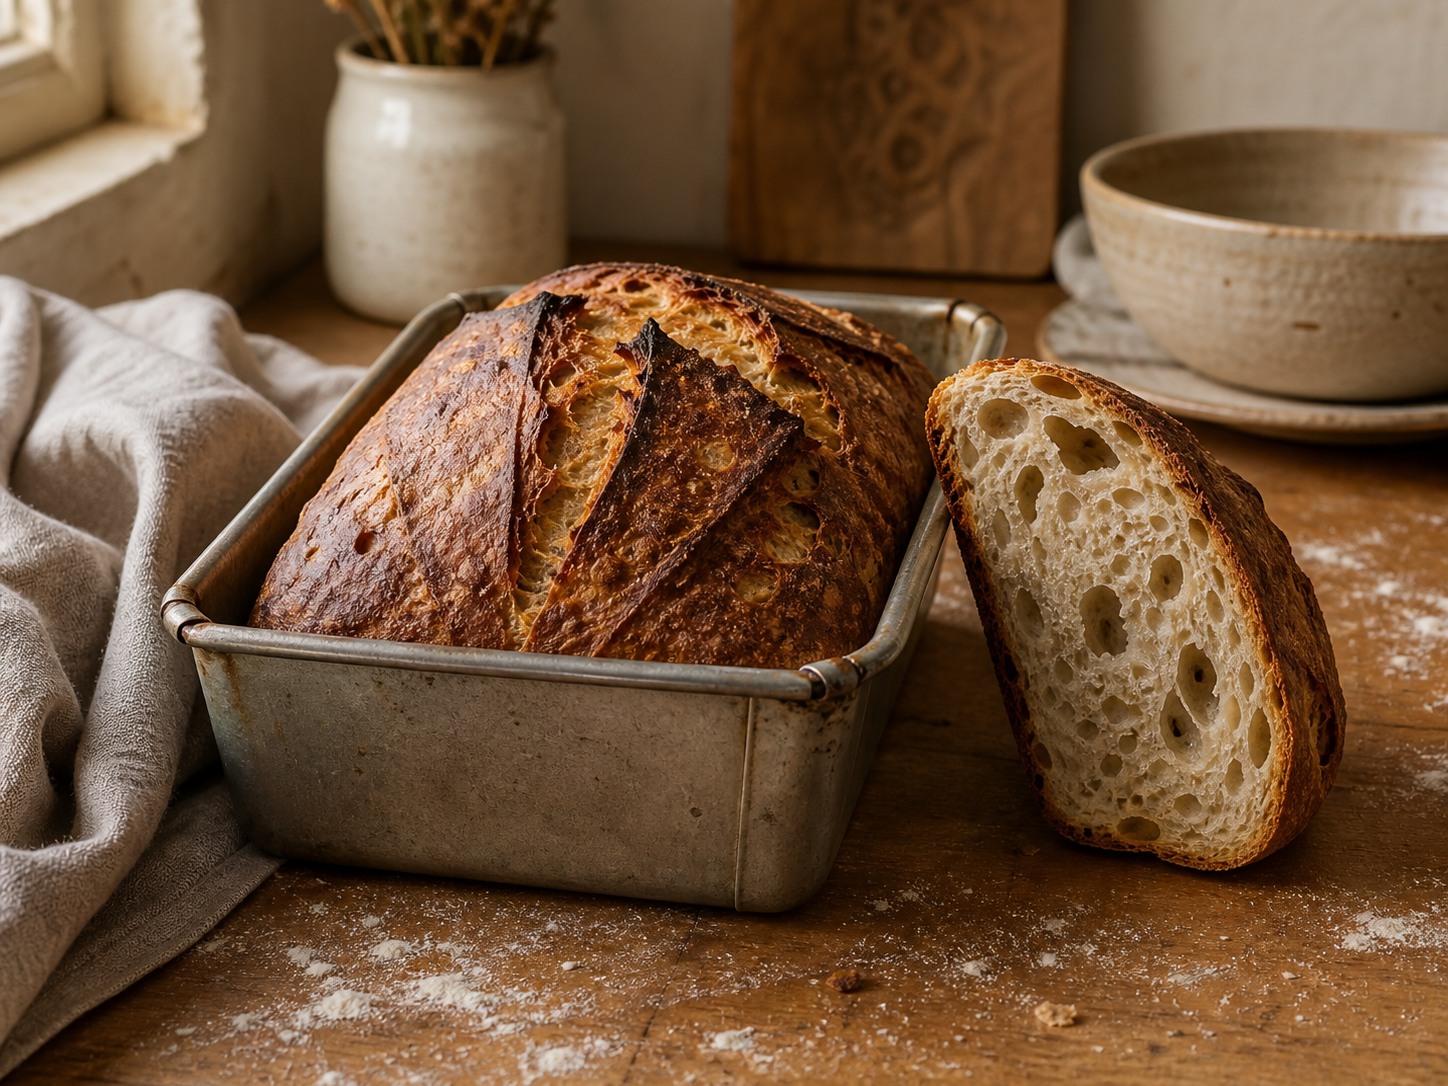
One Day Sourdough Loaf
A same-day sourdough loaf with a six-hour bulk rise, an accelerated freezer proof, and a covered loaf-pan bake.
Everyday Bread
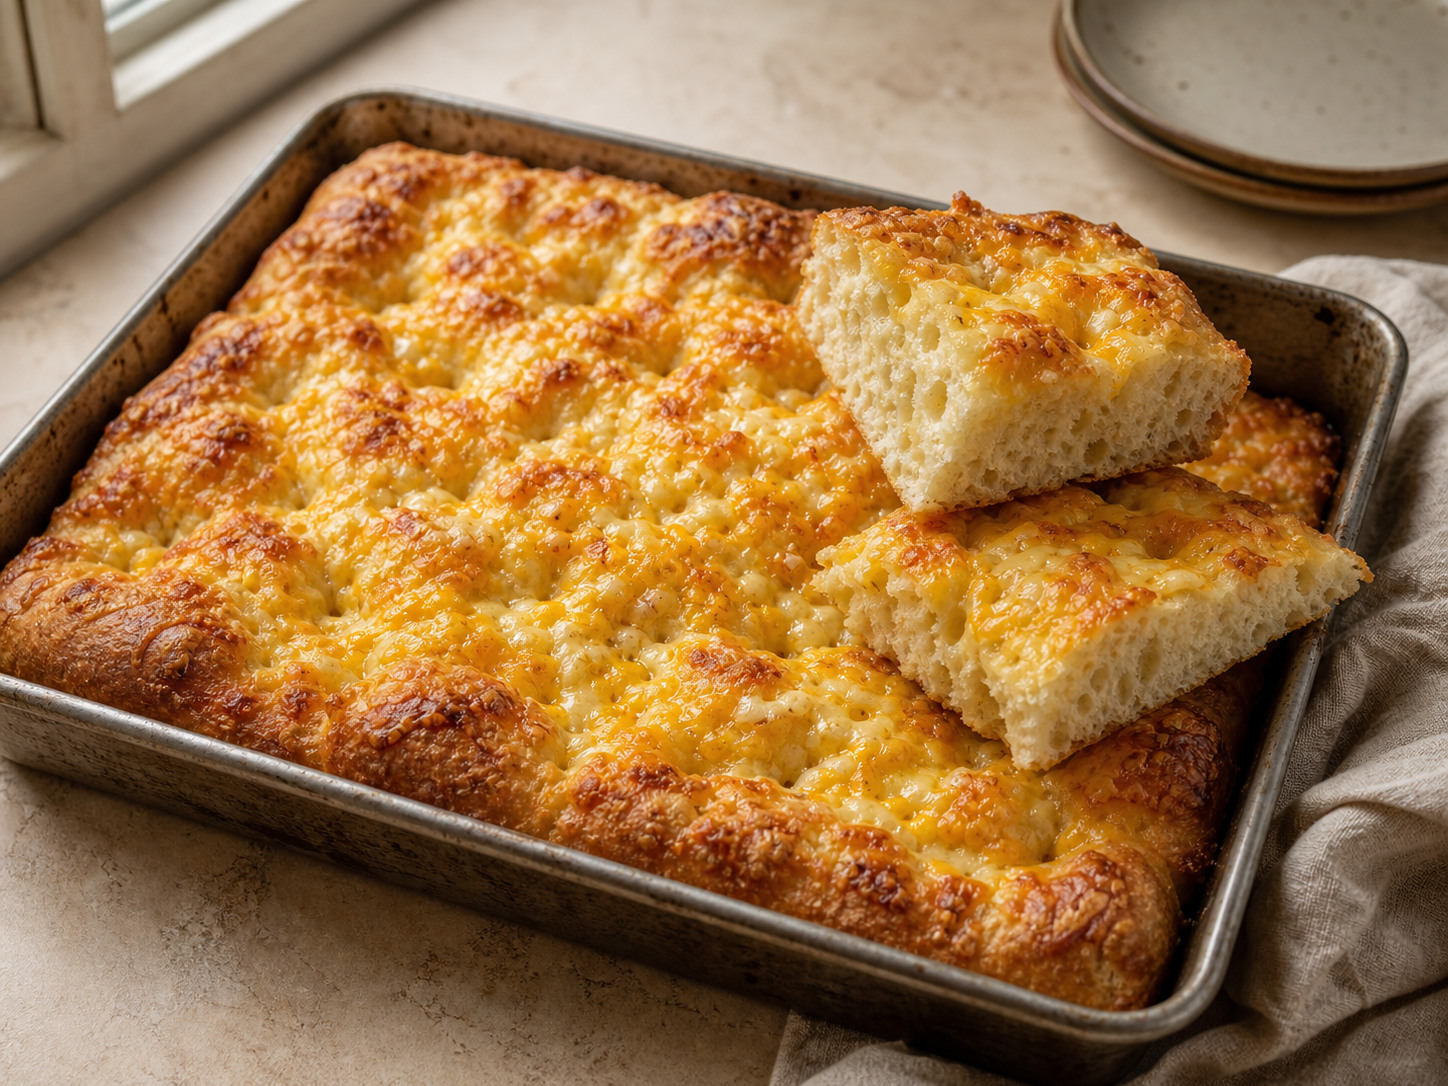
One-Day Cheesy Garlic Sourdough Focaccia
A forgiving, same-day focaccia with a crisp buttery crust, pockets of garlic, and a golden layer of melted Colby Jack.
Everyday Bread
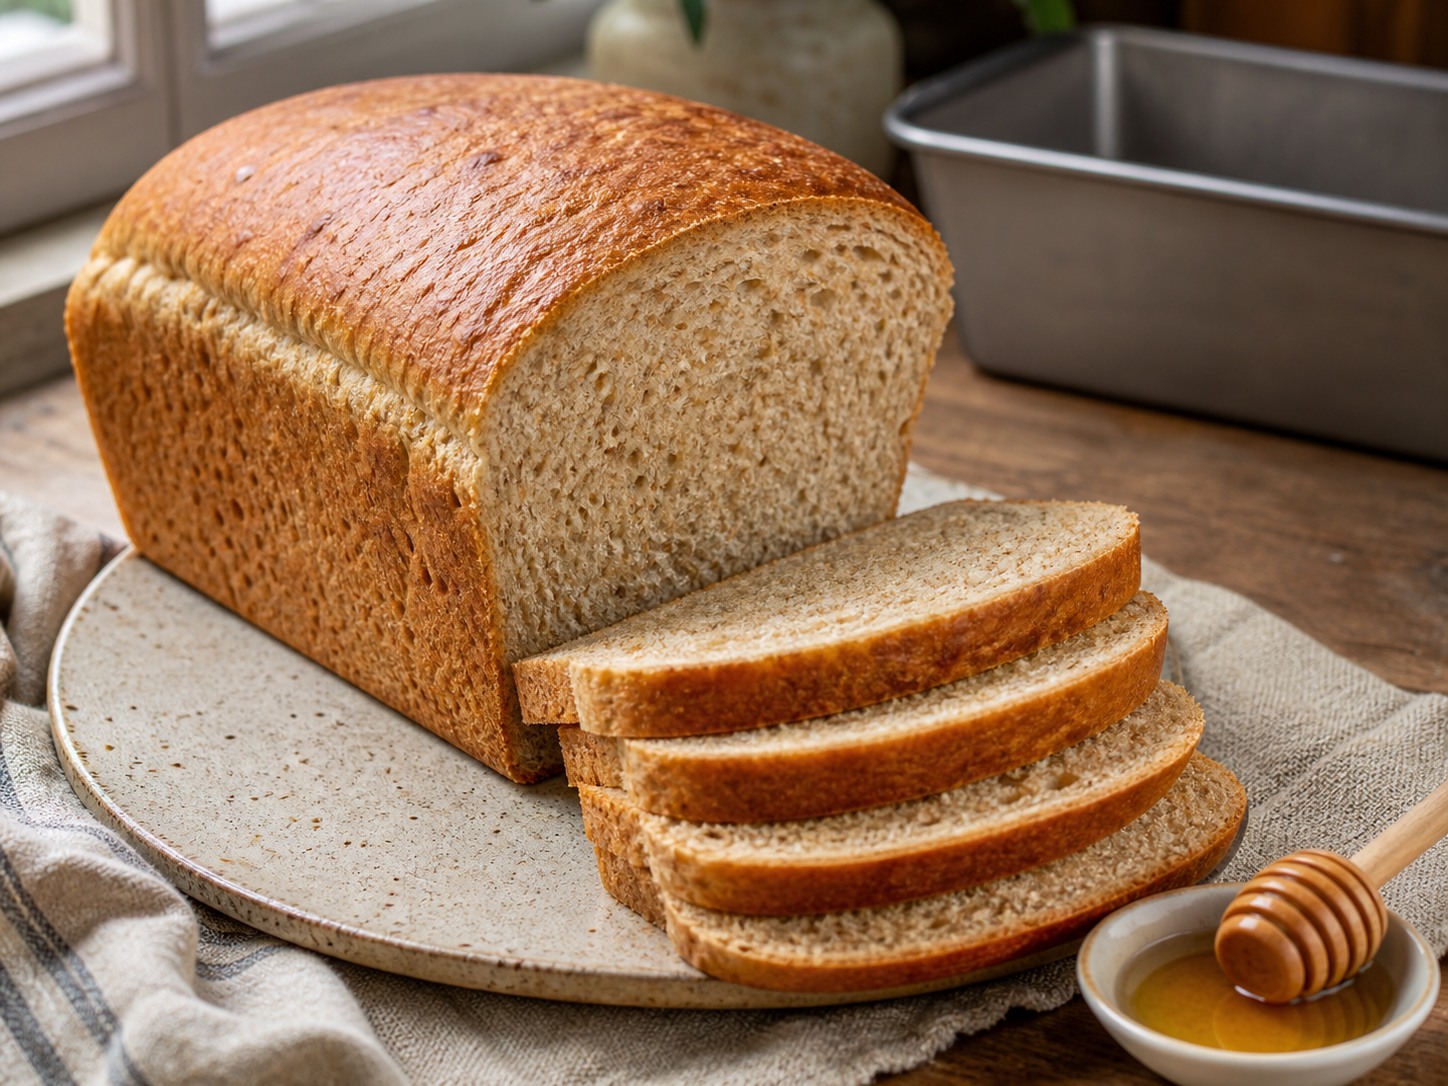
One-Day Honey-Wheat Sourdough Sandwich Loaf
A soft, lightly sweet whole-wheat loaf with a flexible same-day rise, two simple sets of stretch and folds, and a dependable sandwich-ready crumb.