everysourdough.com
Sourdough Starter
7 days or longer
24-hour daily rests
Build your starter, then keep it thriving with a simple daily feeding.
Ingredients
Organic bread flour for the build; organic flour for maintenance. Spring water or filtered water. Organic rye flour for a monthly feeding.
Gather your tools
Two identical glass jars with loose lids, spoon, spatula, plate, rubber band, and kitchen scale.
1. Build your starter
Add the listed amount of each: organic bread flour and water (by volume). After every feeding, mix, cover loosely, and rest at room temperature for 24 hours.
| Day | Flour + water | What to do |
|---|---|---|
| Day 1 | 1/2 cup (125 ml) each | Mix flour and water in your jar. No discard. |
| Day 2 | 1/3 cup (80 ml) each | Add to your starter. No discard. |
| Day 3 | 1/3 cup (80 ml) each | Add to your starter. No discard. |
| Day 4 | 1/3 cup (80 ml) each | Discard half the starter, then feed. |
| Day 5 | 1/3 cup (80 ml) each | Add to your starter. No discard. |
| Day 6 | 1/3 cup (80 ml) each | Discard half the starter, then feed. |
| Day 7 | 1/3 cup (80 ml) each only if needed | If doubled, it is ready. If not, discard half, feed, and rest another 24 hours. |
| Day 8 | 1/3 cup (80 ml) each | If needed: feed without discarding. |
2. Daily maintenance · once established
At room temperature, feed every day at 1:2:2 by weight — starter : water : flour.
10 g starter + 20 g water + 20 g organic flour = 50 g fed starter
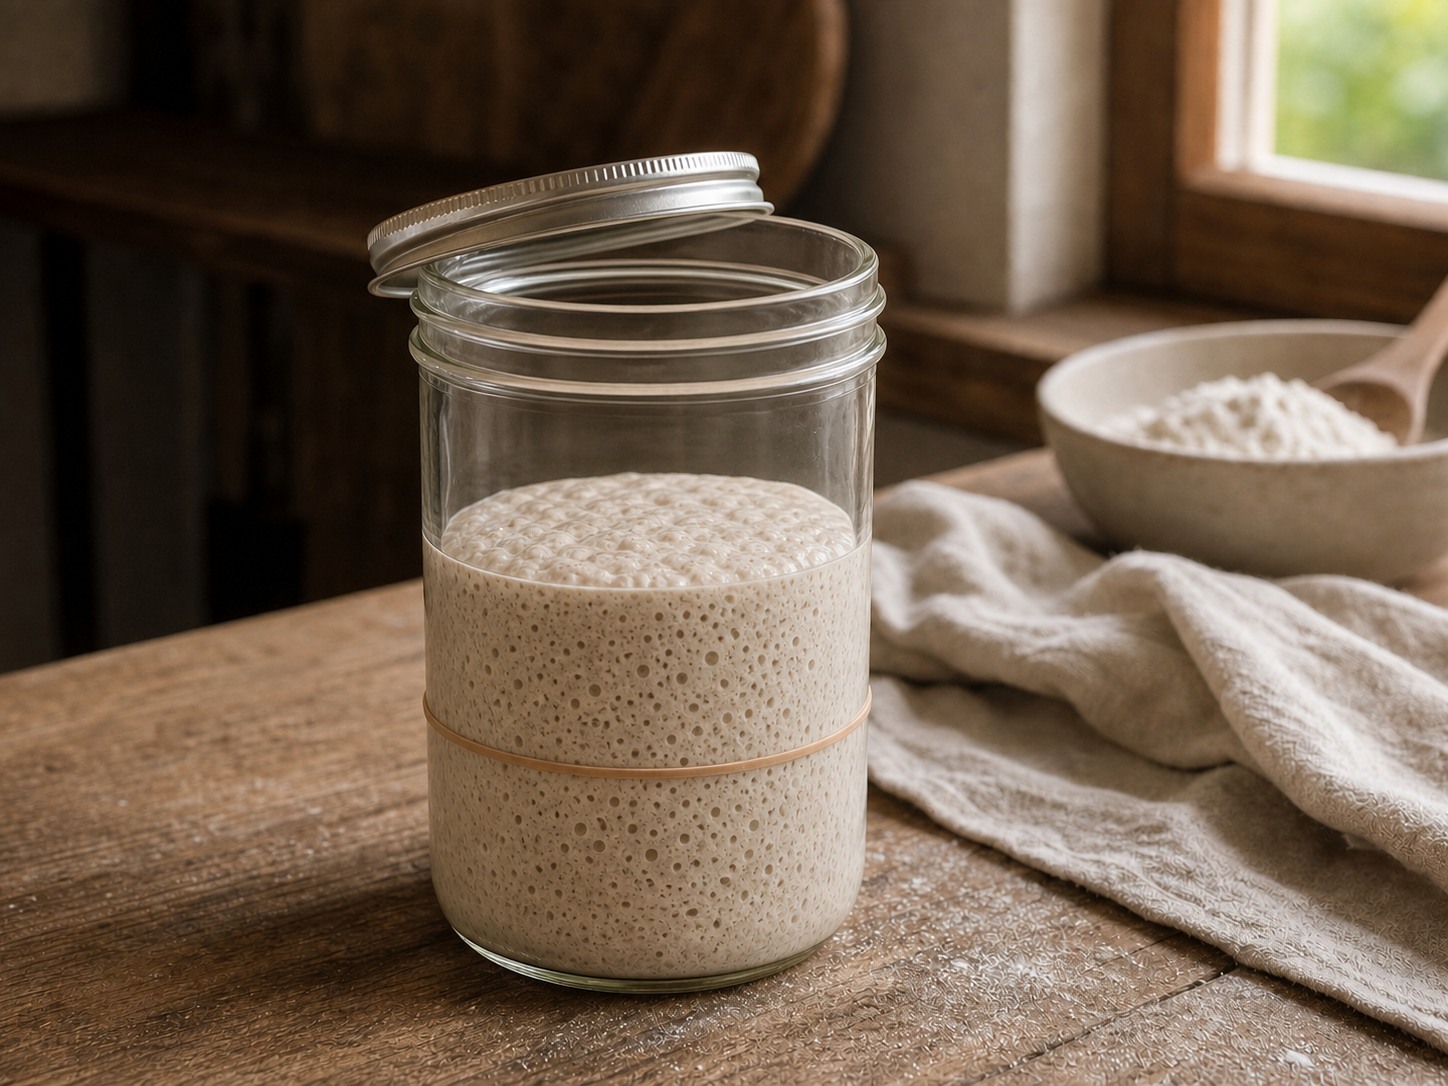
Keep 10 g starter and remove the rest before feeding. Use spring water or filtered water. Mix, cover loosely, and mark the level with a rubber band. Repeat daily; for any amount of starter, use twice its weight in water and twice its weight in flour.
About once a month: replace some of the usual flour with organic rye flour to support a healthy, strong starter. Keep the total flour weight the same.
Refrigerate & reactivate
Put it in the fridge.
To reactivate: Keep 10 g starter and feed 20 g water + 20 g organic flour. Mix, cover loosely, and leave at room temperature for 3–5 hours, or until doubled.
If liquid forms on top
A gray or black liquid may collect in the refrigerator. If otherwise healthy (see safety page), pour it off or stir it in, then keep 10 g starter and feed at 1:2:2 as above. Rest at room temperature for 3–5 hours, or until doubled.
Weighing: Record each empty jar's tare weight without its lid or band. Weigh the starter jar the same way: jar with starter − tare = starter weight.
Between feedings: Keep the loose lid on. Refrigerate discard from an established, healthy starter in a separate covered container.
Remember: Cups are for the initial build; grams are for daily maintenance. Keep the lid loose on the counter and use a rubber band to track doubling.
My saved note:
everysourdough.com
Starter Safety
Safety & sanitation
Check your starter at every feeding—not just on jar-changing day.
When to throw the entire starter away
- Pink or orange streaks, patches, or tint.
- Fuzzy mold of any color in the starter or on the jar walls.
- A putrid smell like garbage or rotting food.
Do not scrape off the affected area, save it as discard, or try to rescue it by feeding or baking. Throw away the entire starter, thoroughly clean and rinse the jar and lid, and start over with a healthy culture.
Hungry is not the same as contaminated
A smooth liquid layer called hooch can be clear, gray, brown, or black. Dark liquid alone is not a spoilage sign. If the starter is otherwise healthy, you may stir it in or pour it off before feeding.
An alcohol, acetone, or vinegar smell can mean the starter needs feeding. These signs never cancel out pink/orange discoloration, fuzzy growth, or a rotten smell. When unsure, throw it away.
Clean handling, every time
Wash hands before handling your starter. Use clean utensils and work surfaces; wash flour-contact equipment with warm, soapy water.
Rotate to a clean jar every 5 days, or sooner if dirty. Wash the jar and lid, rinse well, and dry. Never move contaminated starter into your spare jar.
Keep the loose lid on between feedings to limit contamination while letting gas escape. Five days is our housekeeping routine, not a proven safety deadline.
Refrigerate healthy discard
Save discard only from an established, healthy starter. Do not save discard from the initial starter-building days or a contaminated culture.
Use a separate clean, covered container, label it with the date, and refrigerate at 40°F / 4°C or below.
Check stored discard before use. Pink/orange discoloration, mold, or a putrid smell means throw it away. Refrigeration does not make contaminated starter safe.
Never taste raw starter or discard
Flour—including organic flour—is a raw food and can carry harmful bacteria. Use healthy starter and discard only in recipes that are cooked or baked. Appearance and smell cannot prove raw starter is safe to eat.
Sources · checked September 2026
CSU Extension: Starter Best Practices · King Arthur: Troubleshooting · 2026 Starter Booklet · Discard Storage · FDA: Flour Safety · Refrigerator Temperatures
Baking Basics - Build from flour + water
Sourdough Starter
A straightforward flour-and-water culture built day by day, with a clear schedule for feeding, storing, and waking it for baking.
- Total time
- 7 days or longer
- Hands-on
- About 5 min daily
- Yield
- 1 starter
- Starter
- Build from flour + water
- Difficulty
- Beginner
- Environment
- Room temperature; refrigerate once ready
- Pan or vessel
- Two identical glass jars with loose-fitting lids; kitchen scale
Gather first
Ingredients
Before You Begin
Ingredients
- Organic bread flour
- Spring water or filtered water
- Organic flour for daily feeding; organic rye flour about once a month
Build Your Starter
Day 1 — Begin
- 1/2 cup (125 ml) organic bread flour
- 1/2 cup (125 ml) spring water or filtered water
Day 2 — Feed
- 1/3 cup (80 ml) organic bread flour
- 1/3 cup (80 ml) spring water or filtered water
Day 3 — Feed Again
- 1/3 cup (80 ml) organic bread flour
- 1/3 cup (80 ml) spring water or filtered water
Day 4 — Discard & Feed
- Half of the starter
- 1/3 cup (80 ml) organic bread flour
- 1/3 cup (80 ml) spring water or filtered water
Day 5 — Feed
- 1/3 cup (80 ml) organic bread flour
- 1/3 cup (80 ml) spring water or filtered water
Day 6 — Discard & Feed
- Half of the starter
- 1/3 cup (80 ml) organic bread flour
- 1/3 cup (80 ml) spring water or filtered water
Day 8 — Continue if Needed
- 1/3 cup (80 ml) organic bread flour
- 1/3 cup (80 ml) spring water or filtered water
Method
Step by step
Part 1
Build Your Starter
- Day 1 — Begin — Mix together, place the lid on top without sealing it, and leave on the counter for 24 hours.
- Day 2 — Feed — Add to the starter, mix well, cover without sealing, and rest on the counter for 24 hours.
- Day 3 — Feed Again — Add to the starter, mix well, cover without sealing, and rest on the counter for 24 hours.
- Day 4 — Discard & Feed — Discard half, add the flour and water, and mix. Cover without sealing and leave on the counter for 24 hours.
- Day 5 — Feed — Add to the starter, mix well, cover without sealing, and rest on the counter for 24 hours.
- Day 6 — Discard & Feed — Discard half, add the flour and water, and mix. Cover without sealing and leave on the counter for 24 hours.
- Day 7 — Check for Readiness — If the starter has doubled in size, it is ready to use. If it has not doubled, discard half; add 1/3 cup (80 ml) organic bread flour and 1/3 cup (80 ml) spring water or filtered water; mix; cover without sealing; and rest for another 24 hours.
- Day 8 — Continue if Needed — Mix, cover without sealing, and leave on the counter for 24 hours.
Part 2
Daily Maintenance
- For an established starter kept at room temperature, feed every day using a 1:2:2 ratio by weight: starter: water: flour.
- Keep 10 g starter in your jar and remove the rest before feeding. Add 20 g spring water or filtered water and 20 g organic flour. This makes 50 g of fed starter.
- Mix well, cover loosely, and mark the level with a rubber band. Repeat each day, keeping only the starter you intend to feed. For any amount of starter, add twice its weight in water and twice its weight in flour.
- About once a month, include organic rye flour in a feeding to support a healthy, strong starter. Replace some of the usual organic flour with rye; keep the total flour weight the same.
Part 3
Clean Jars, Weighing & Discard
- Use two identical jars with loose-fitting lids so one can be washed while the other holds your starter. Transfer healthy starter to a clean jar every 5 days, or sooner if residue builds up. Wash the used jar and lid with warm, soapy water, rinse well, and let them dry.
- Weigh each clean, dry, empty jar separately and record its tare weight; identical jars can weigh slightly differently. Weigh without the lid or rubber band both times. Subtract that jar's empty weight from its weight with starter to find the starter's weight. Example: 350 g jar with starter minus 300 g empty jar = 50 g starter.
- Keep the loose lid on the jar between feedings. Do not leave the starter uncovered or seal it tightly while it is fermenting.
- Put discard from an established, healthy starter in a separate clean, covered container in the refrigerator at 40°F / 4°C or below. Label it with the date. Do not save discard from the initial starter-building days or from a contaminated starter. Cook or bake discard before eating; never taste it raw.
Part 4
Store & Wake the Starter
- Put it in the fridge.
- To reactivate, keep 10 g starter and feed with 20 g spring water or filtered water and 20 g organic flour (1:2:2 by weight).
- Mix, cover without sealing, and leave on the counter for 3-5 hours, or until doubled.
Set a check timer
- A smooth gray, brown, or black liquid layer (hooch) can form on an otherwise healthy starter. If there are no contamination signs, pour it off or stir it in. This is different from fuzzy growth or colored patches in the starter.
- Keep 10 g starter, add 20 g spring water or filtered water and 20 g organic flour, then mix well.
- Leave on the counter for 3-5 hours, or until doubled and ready to use.
Set a check timer
Part 5
Safety & Warning Signs
Part 6
Helpful Notes
For next time
My Kitchen Notes
Keep track of changes, room temperature, proofing cues, or anything you want to repeat next time.
Finish well
After the build
Readiness, storage, and reactivation notes for your starter.
Ready when
Ready when it reliably doubles in size
Storage
Put it in the fridge.
Reactivate
Keep 10 g starter; feed with 20 g spring water or filtered water and 20 g organic flour (1:2:2 by weight). Leave at room temperature for 3–5 hours or until doubled.
Keep Baking
Related sourdough recipes
Baking Basics
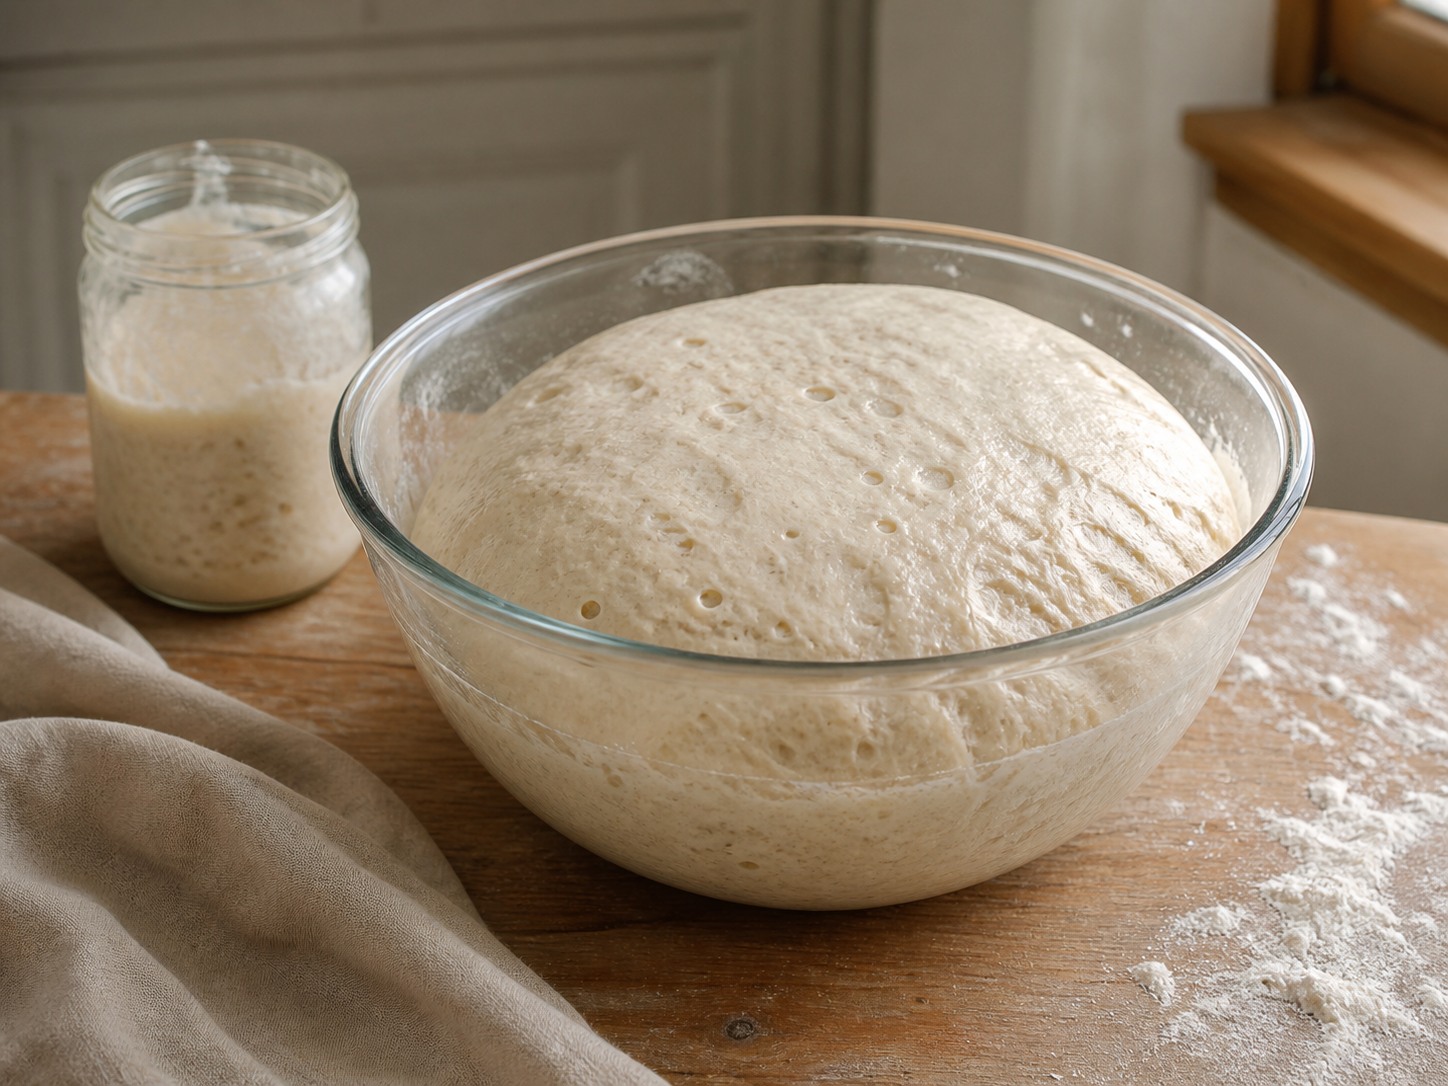
Basic Sourdough
A versatile naturally leavened dough developed through bulk fermentation, ready to become the base for another compatible recipe.

Baking Basics
Sourdough Biscuits
Tender, flaky biscuits made with sourdough starter and cold grated butter — quick to mix, cut, and bake for a warm, golden batch in under 30 minutes.
Baking Basics
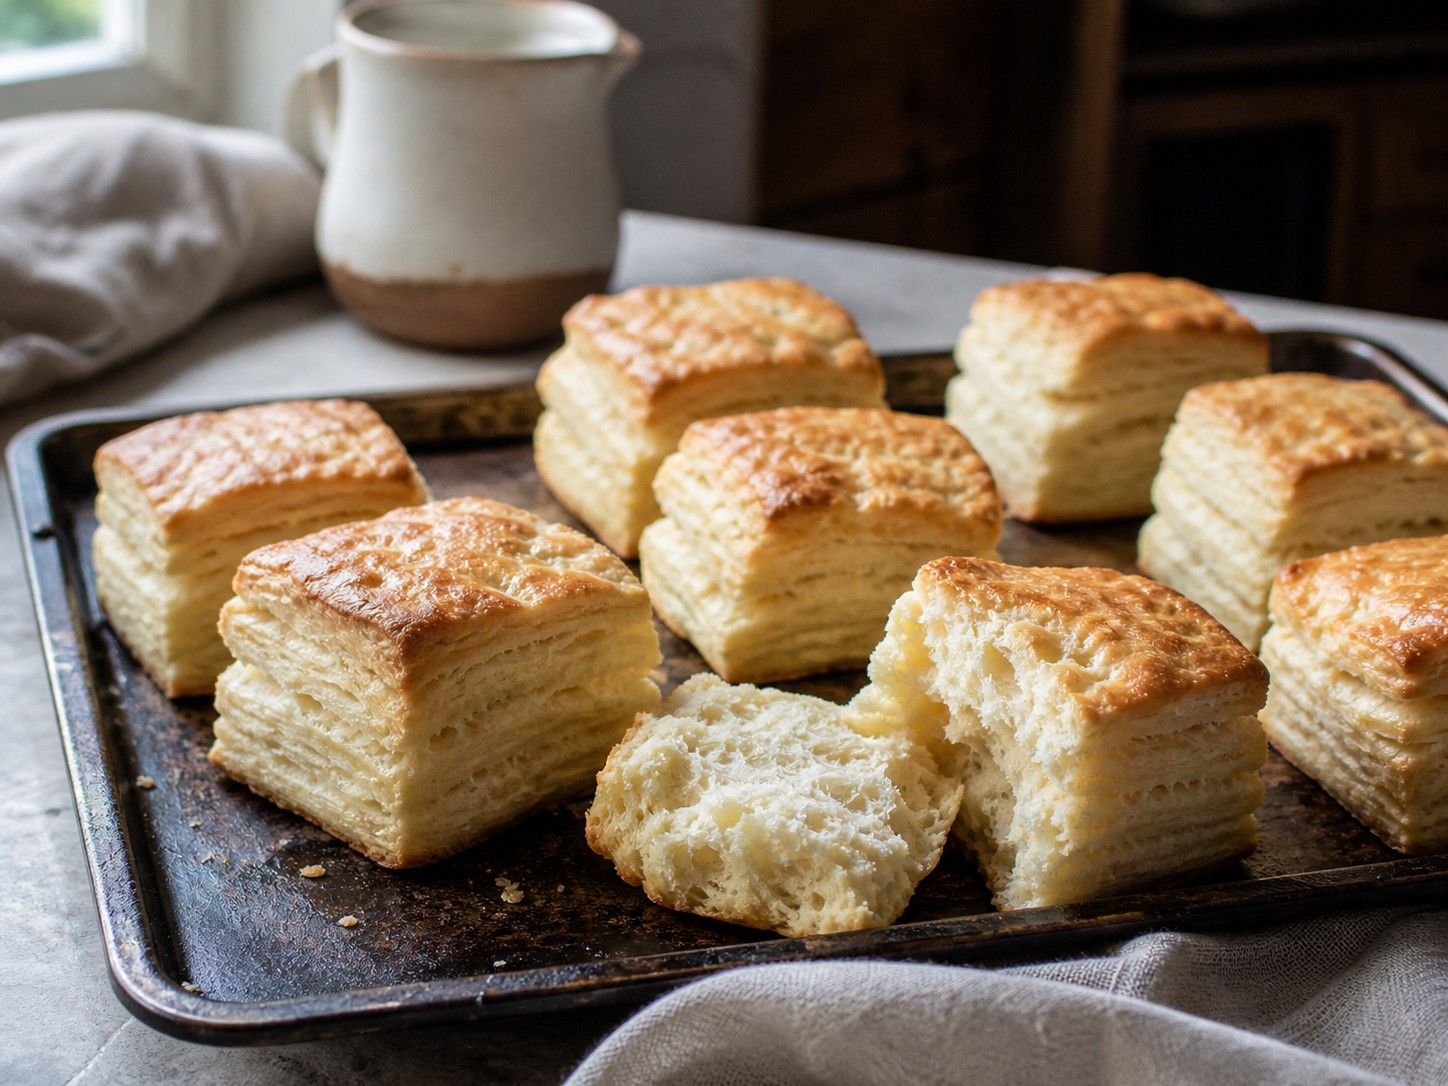
Sourdough Buttermilk Biscuits
Cold sourdough discard, buttermilk, and grated frozen butter folded into a flaky biscuit dough, chilled before baking for tall tender layers.
Food-safety sources
Our five-day jar change is a housekeeping routine, not a guarantee against contamination. Safety guidance is based on CSU Extension's starter best practices, King Arthur's contamination guidance, its 2026 starter booklet, its discard storage guidance, FDA flour safety, and FDA refrigerator temperatures.